With Convly ChatBuilder, adding a chatbot to your existing website takes a few lines of code. Whether you run WordPress, Shopify, or a static site built with Astro or Next.js, the process is the same. This guide walks you through three steps: prepare, embed, and verify.
What you will learn
- Three things to define before embedding
- How to get and place the embed code
- A pre-launch checklist to avoid common issues
- Troubleshooting tips for the most frequent setup problems
The three things that matter most
- Start with a narrow scope — Cover only the top 3–5 questions your users actually ask. You can expand later.
- Embed on one page first — Pick the highest-traffic page or the page with your contact form and validate there before rolling out site-wide.
- Keep a human fallback — Always leave a path to a form, email, or phone number for questions the chatbot cannot handle.
When this approach works best
- Your contact form gets traffic but few submissions
- You already have recurring questions that could be answered immediately
- You want to test chatbot impact on one page before a wider rollout
- You need a lightweight implementation path instead of a full rebuild
Step 1: Preparation
Before embedding, define three things to make setup faster and avoid rework.
1-1. Choose your target page
Pick one page to start with. Good candidates:
| Page | Why it works |
|---|---|
| Homepage | High traffic, easy to measure impact |
| Contact page | Supplements form-based inquiries by catching common questions |
| Pricing page | Visitors in comparison mode tend to have specific questions |
Starting with a single page keeps the feedback loop short. Expand once you confirm the chatbot is performing.
1-2. Select 3–5 questions to cover
Resist the urge to cover every possible question upfront. Review your support inbox, chat logs, or analytics and pick questions that meet these criteria:
- High frequency — The same question comes in five or more times per month
- Predictable answer — The response requires little to no branching logic
- Stable over time — Pricing tiers, business hours, and service areas rarely change
1-3. Define the fallback path
Decide where users go when the chatbot cannot answer their question:
- A link to your contact form
- A phone number
- An email address
Having this ready before you build scenarios prevents dead ends in the conversation flow.
Step 2: Create a scenario and embed
Once preparation is done, create a scenario in the Convly ChatBuilder dashboard and get the embed code.
2-1. Build your scenario
Log in to the ChatBuilder dashboard and create a new scenario. Add the questions and answers you defined in Step 1.
Keep these in mind:
- Greeting message — Keep it short. “Hi! How can I help?” is enough.
- Use button options for the first interaction — Free-text input works better once users are familiar with the chatbot. Buttons are safer at launch.
- End with a confirmation — Adding “Did this answer your question?” after each response gives you useful feedback data.
2-2. Get the embed code
After you prepare the scenario, use the embed code generated in the dashboard. The exact URL and attribute names should come from the actual code snippet provided there. Line breaks and attribute order do not affect behavior, so both a one-line snippet and a multi-line snippet are valid. This article uses a multi-line example because it is easier to read.
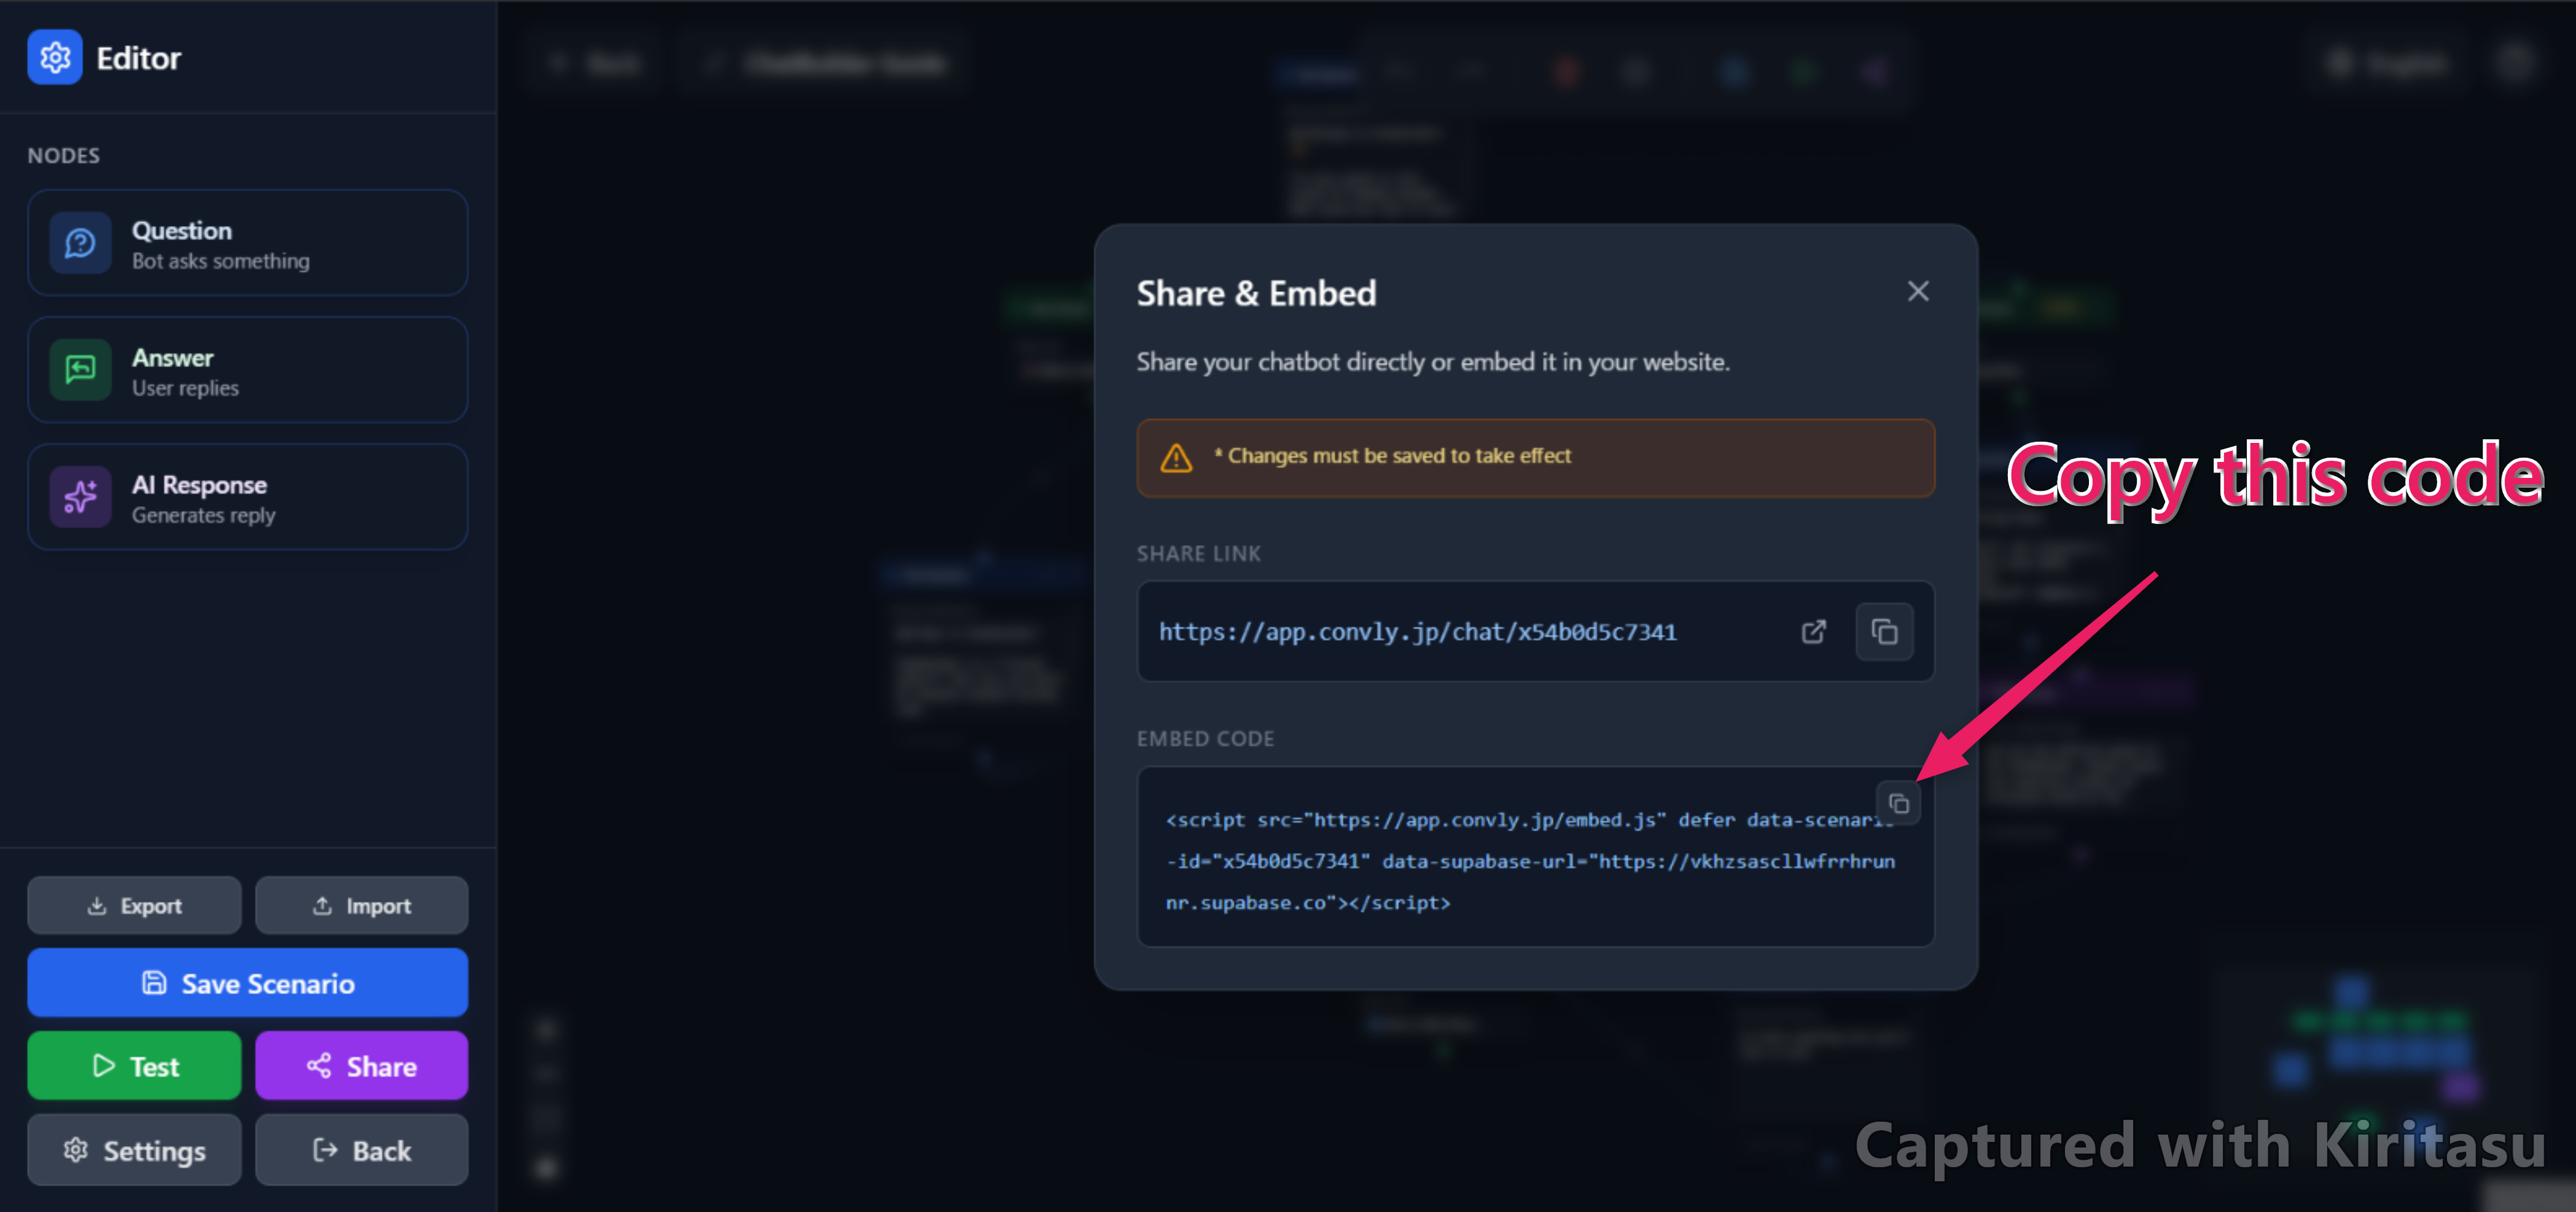
<script
  src="https://app.convly.jp/embed.js"
  defer
  data-scenario-id="YOUR_SCENARIO_ID"
  data-supabase-url="YOUR_SUPABASE_URL"
></script>
You can use the code shown in the dashboard as-is. defer is not strictly required, but it is recommended because it helps avoid blocking the initial page render.
2-3. Place it on your page
Add the <script> tag just before the closing </body> tag on your target page.
<!DOCTYPE html>
<html lang="en">
<head>
  <meta charset="UTF-8">
  <title>Your Page Title</title>
</head>
<body>
  <!-- Your page content -->

  <!-- ChatBuilder embed code -->
  <script
    src="https://app.convly.jp/embed.js"
    defer
    data-scenario-id="YOUR_SCENARIO_ID"
    data-supabase-url="YOUR_SUPABASE_URL"
  ></script>
</body>
</html>
If you use WordPress, add the snippet to your theme’s footer.php, or use a plugin like “Insert Headers and Footers” to place it before </body>. A dedicated Convly ChatBuilder WordPress plugin is currently under review, so for now this embed-code approach is the official setup method.
If you use Shopify, go to Online Store → Themes → Edit Code, and add the snippet to theme.liquid before </body>.
Step 3: Pre-launch checklist
Before going live, verify the following:
Functionality
- The chat widget appears on the target page
- Sending a test question returns the expected answer
- Unanswerable questions surface the fallback path (form, phone, or email)
Mobile behavior
- The widget does not cover essential page content on small screens
- Opening and closing the chat is smooth on touch devices
- The on-screen keyboard does not obscure the chat input
Performance
- Page load speed has not degraded noticeably
- The
deferattribute is present on the<script>tag
Existing user flows
- Contact form, phone number, and email links are still accessible
- Information in the chatbot responses matches the information on your site
Common setup issues
The widget does not appear
- Cause 1: The embed code has the wrong ID or attribute values → Re-copy the code from the dashboard
- Cause 2: Your Content Security Policy blocks the embed origin → Verify the required
script-srcandconnect-srcdirectives - Cause 3: A JavaScript error on the page prevents the script from loading → Open the browser console and check for errors
The widget is too large on mobile
Mobile rendering is affected not only by the widget itself but also by the CSS and layout of the host page. If the widget feels oversized or overlaps awkwardly, check nearby z-index and positioning rules first.
No response after sending a message
Check that the scenario and its public settings are correctly enabled in the dashboard. In some cases the widget loads, but response behavior is blocked by unpublished settings or configuration mismatches.
FAQ
Can I embed ChatBuilder on platforms other than WordPress?
Yes. ChatBuilder works via a standard <script> tag, so it runs on any platform where you can edit HTML: WordPress, Shopify, Wix, Squarespace, Astro, Next.js, and custom-built sites.
Does embedding cost extra?
Check the current pricing on Convly ChatBuilder. The embed itself is usually lightweight, but you should still account for scenario design and ongoing optimization work.
Should I use a separate scenario for each page?
Not necessarily, but it helps. If your pricing page and support page serve different intents, separate scenarios improve answer relevance. Start with one scenario and split later when you have enough data to justify it.
How do I measure the impact after embedding?
First confirm the scenario is published and configured correctly in ChatBuilder, then review performance in Google Analytics or another analytics stack. The most useful signals are chat starts, handoff clicks, completion rate, and downstream conversion events.
Next steps
Once the chatbot is live, measure before you expand.
- Related: How to Reduce Support Inquiries by Improving Your FAQ Page — Combine your chatbot with a well-structured FAQ for higher self-service resolution
- Related: How to Replace a Contact Form with a Chatbot Using Convly ChatBuilder — A staged migration guide if you want to shift from forms to chat
- Try ChatBuilder: Convly ChatBuilder — Create a scenario and begin your first implementation